
Tags
The main part of our house is made of stone, but we have a back addition which was added much later (about 30 years ago) that is made of bricks. Unfortunately, this was not a very good period for construction and we really pondered if we should tear it down and rebuild or renovate.
In the end, and after discussions with a few local professionals, we decided to renovate. One of the last parts of the renovation was adding insulation to the walls. In our mid-continental climate, insulation is applied on the outside of the wall. And typically in Hungary such insulation is Styrofoam. Below are some photos of the process of adding this external insulation.
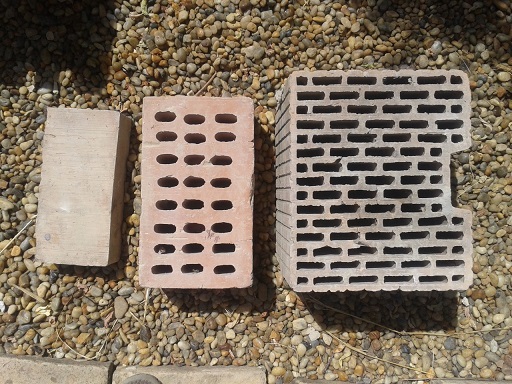
From left to right: normal red brick, old insulating brick, and modern insulating brick. Our wall was made up of the first two bricks, providing only minimum insulation.
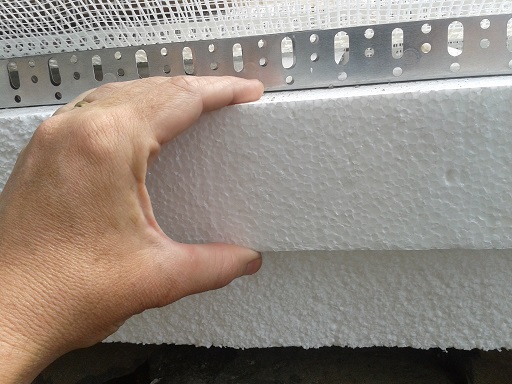
Because of the bricks that made up our wall, we decided to go with an 8 cm (3.15 inch) thick insulation layer.
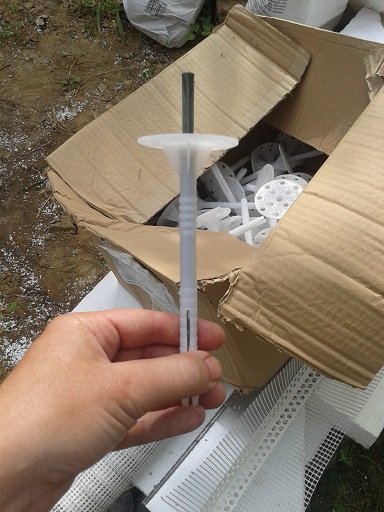
The Styrofoam is stuck onto the wall with some thin plaster, then fastened securely with plastic pins drilled through the Styrofoam and into the wall.
Wall before Styrofoam. Some added plaster was applied to make the wall straight enough to apply the Styrofoam.

Styrofoam attached to the wall.

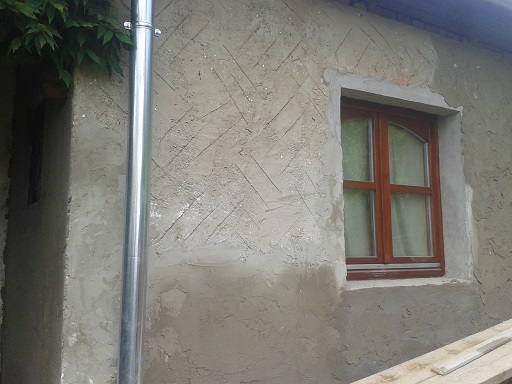
A plastic net was applied to the Styrofoam and a plaster under coat was applied. The final plaster coat with a special external “colored” plaster will be applied in the fall.
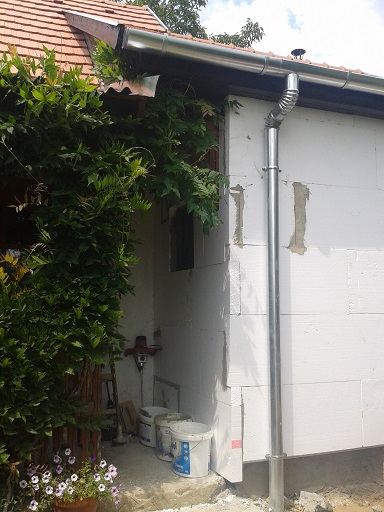
Another photo showing just the Styrofoam attached.
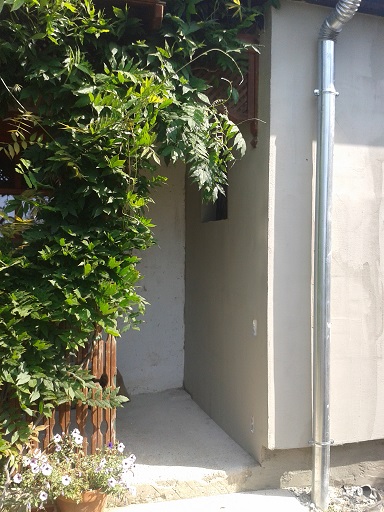
And again the same view with the protective plastic netting and base coat plaster applied.

Showing how thick the wall is now with the added Styrofoam. The outer 8 cm are the Styrofoam.

Pingback: Our Stone House | Crafting wine, life and home in Hungary
Pingback: House Renovations – Episode 127: A Milestone | Crafting wine, life and home in Hungary
I have wondered about doing this myself but some people say it tends to make the house damp because moisture is trapped inside from showers, cooking, breathing etc.
LikeLike
Adding external insulation can either cause mold problems or reduce them. You have to know the type of wall construction you have as well as moisture issues in your house. In our case, and in that part of the house where the brick walls were so thin, the insulation will prevent water vapor from experiencing a dew point within the wall. This should reduce mold within the wall, as long as internal humidity is keep within a proper range (I have two hygrometers to monitor internal humidity). We did not add Styrofoam to our stone walls because they do need to breath.
The below link to Old House Journal, has a good (very long and detailed) article on controlling moisture in old houses:
“Holding the Line: Controlling Unwanted Moisture in Historic Buildings”
http://www.oldhousejournal.com/npsbriefs2/brief39.shtml
As for us, we control internal moisture with a combination of heating to keep the walls warm (and prevent a dew point in the wall), venting the internal air with outside air (mostly using some type of heat exchanger) and making sure surface water is properly lead away from the foundation (moisture can also be in walls from water creep from foundations, especially in old buildings that do not have water barrier at the base of the wall).
LikeLike