
As I have mentioned before, we heat with wood. In fact, wood for heating has been part of my life since childhood and continues to be a common heating method for many in Hungary.
For years, while I lived the bachelor life on the west coast of the US, I heated entirely with wood. Even so, it was only within the last decade that I learned I had been starting my fires wrong. I use to use the typical bottom up burn. But there is a much better way to start a fire. Which is the “top down” method. Steps how to do a top down burn are already nicely shown at www.woodheat.org.
Despite risking being somewhat redundant, I decided to provide my own steps in preparing and starting a top down burn.
Step 1 – Prepare the Wood.
There are two requirements to a successful top down burn.
- Some easily combustible material like paper to start the fire.
- Some well seasoned wood in a range of sizes.
As you will see below, having different wood sizes is necessary to properly build an easy lighting top down fire. In summary your combustible material and sizes should include:
- Five to six pieces of paper. This is a good use of all that junk mail you probably receive.
- Small twigs for kindling (optional, but I find useful).
- Wood split into thin strips for kindling, or small sized dry tree branches.
- Wood split into small to medium stove wood sizes.
- Wood split into large stove wood size
- Logs for long burns.
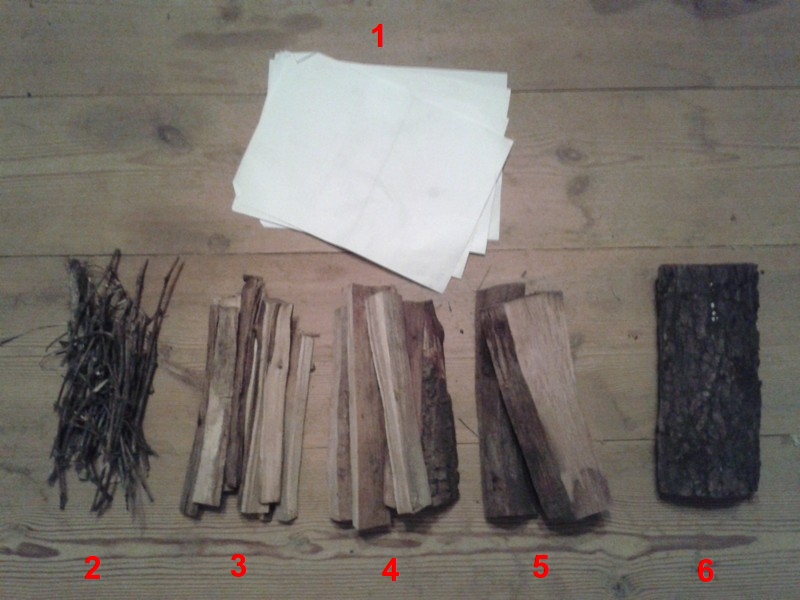
Firewood sizes.
The following photos will help you get a scale of each wood size:
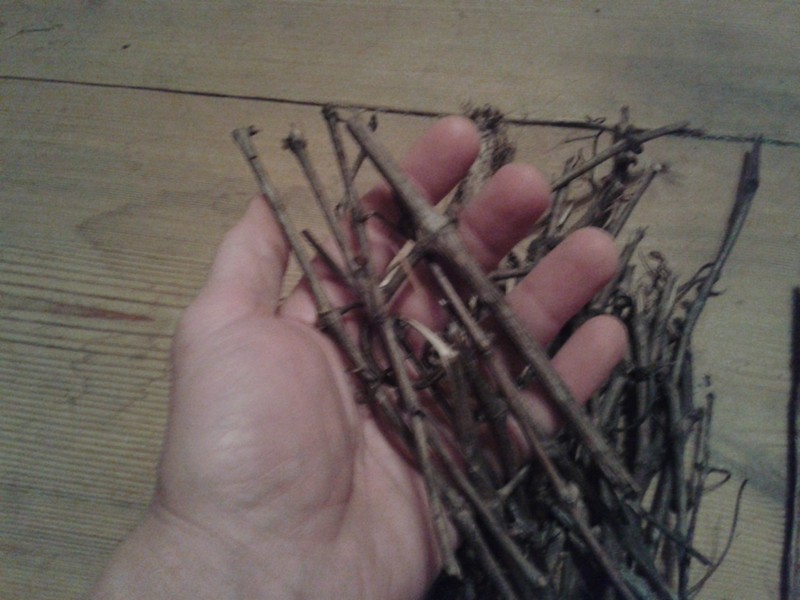
Small kindling twigs.
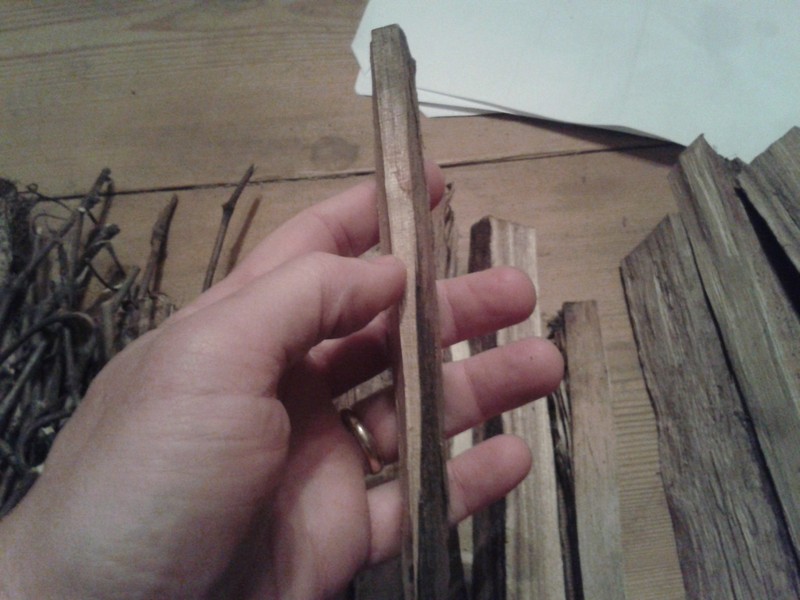
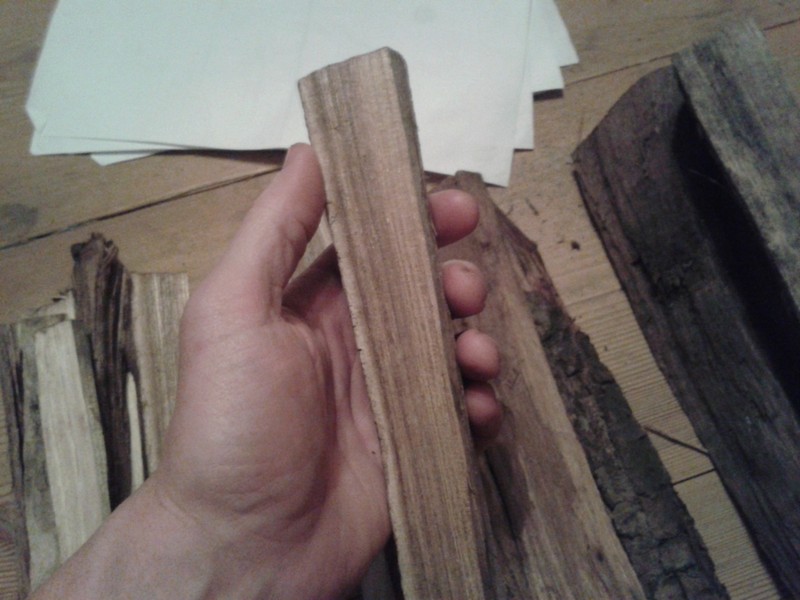
Wood split into thin strips
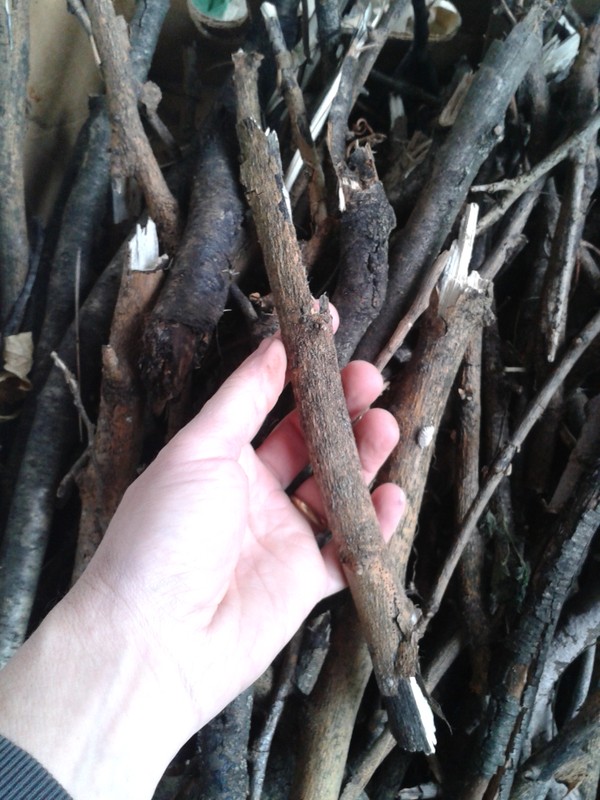
Small dry tree branches can also be used instead of thin wood strips.
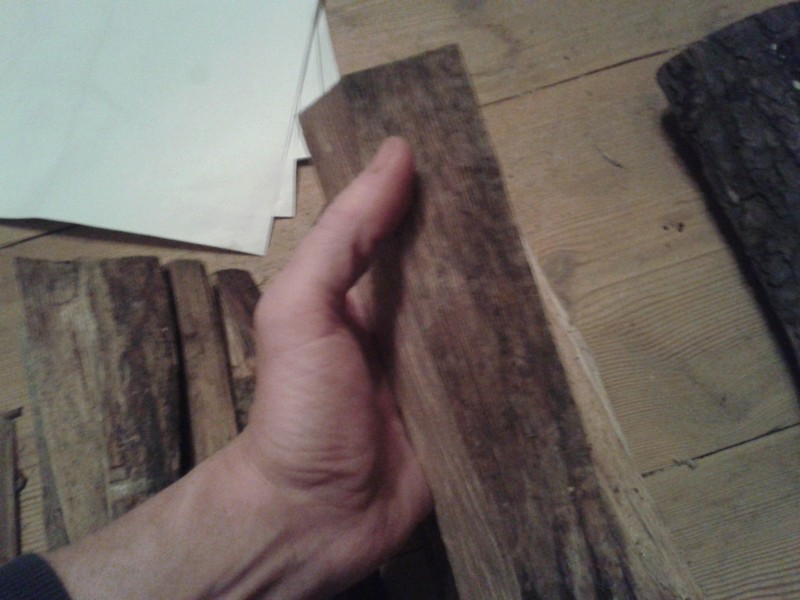
Wood split from small to medium stove wood size.
Wood split into large stove wood size
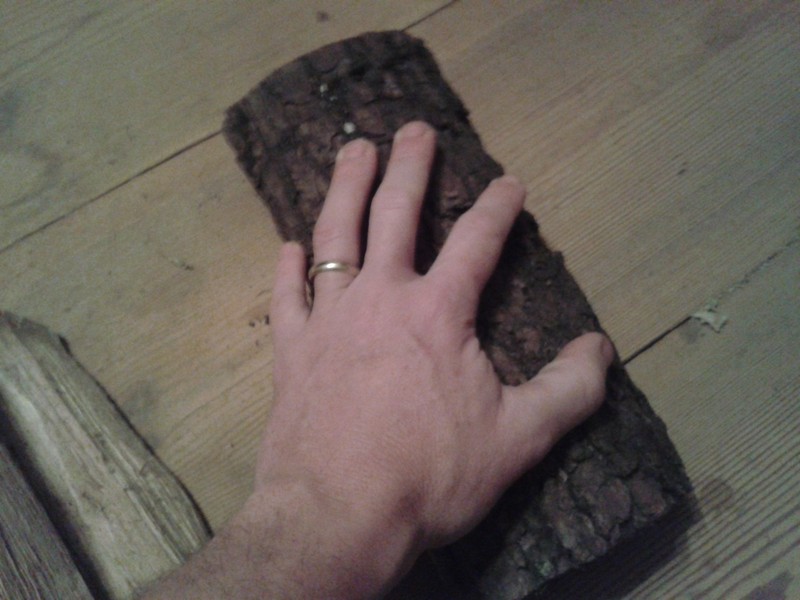
Seasoned wood logs.
Step 2 – Stack the Wood.
IMPORTANT NOTE: When loading and starting any fire follow all instructions that comes with your stove including using proper air flow during the combustion process.
To do a top down burn you need to properly stack your wood in your oven’s firebox with the following considerations:
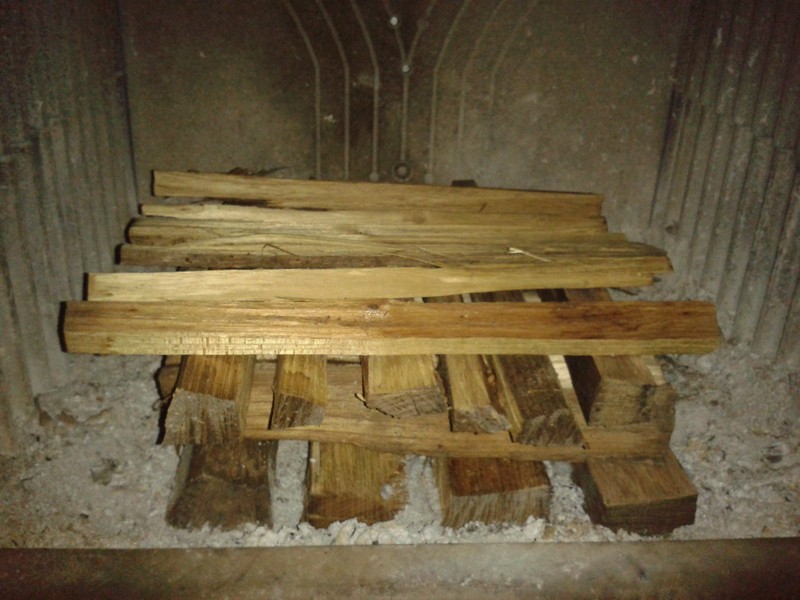
- Start with large wood at the bottom and progress by adding a new layer of wood placed perpendicular to the prior layer.
- Each layer should be of thinner pieces of wood than the prior layer.
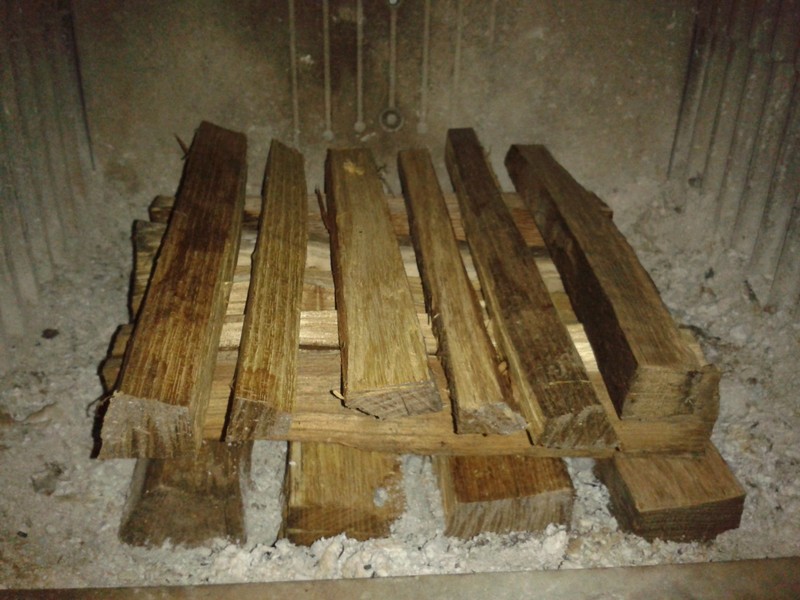
- Depending on the size of your stove’s firebox you can start the bottom layer with either small stove wood (item 4 in the first image above) or large stove wood (item 5 in the first image above).
- Leave some gap between each piece of wood to allow air flow.

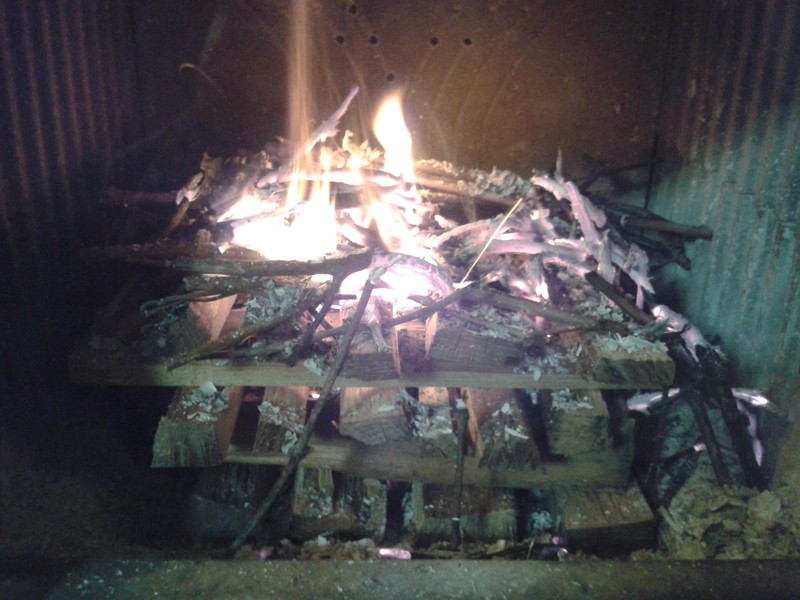
First layer of stove wood.
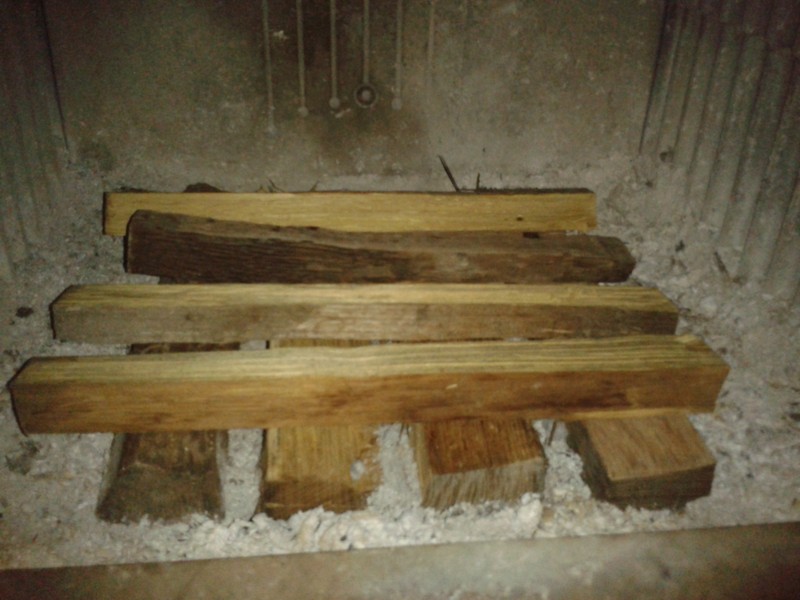
Second layer of stove wood perpendicular to first layer.
Third layer of stove wood made from thinner pieces from the other two layers.
Next layer of thin wood strips.
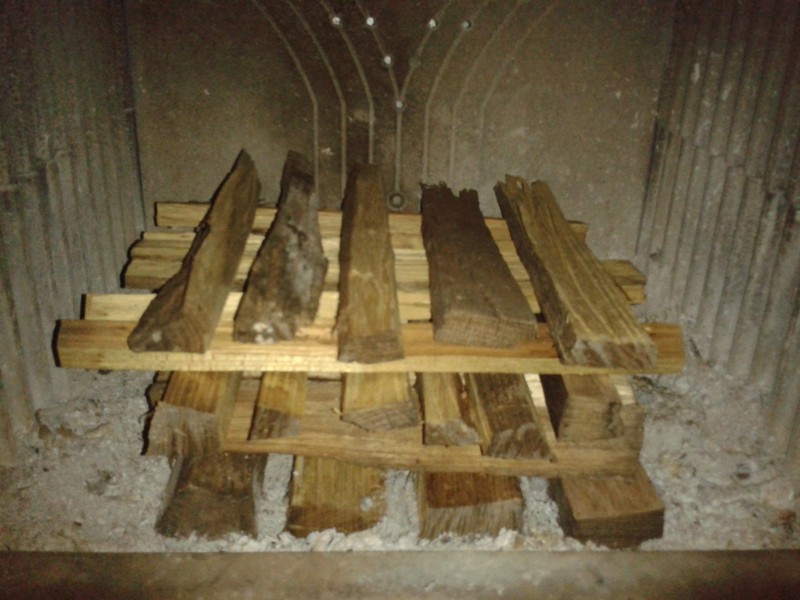
Another layer of thin wood strips.
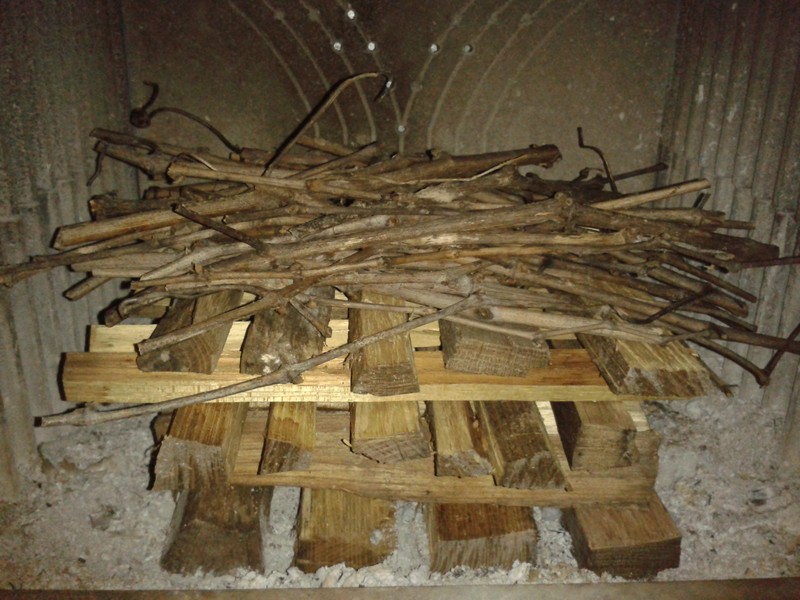
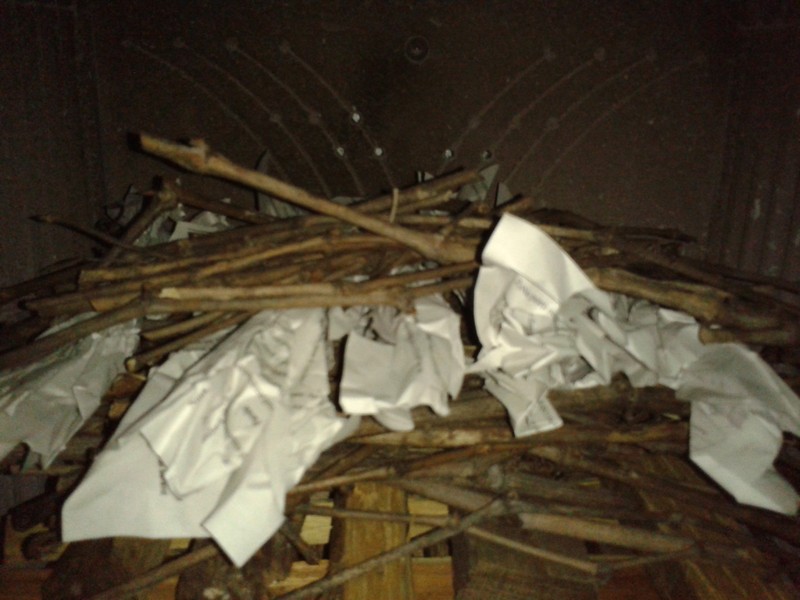
Add a layer of twigs.
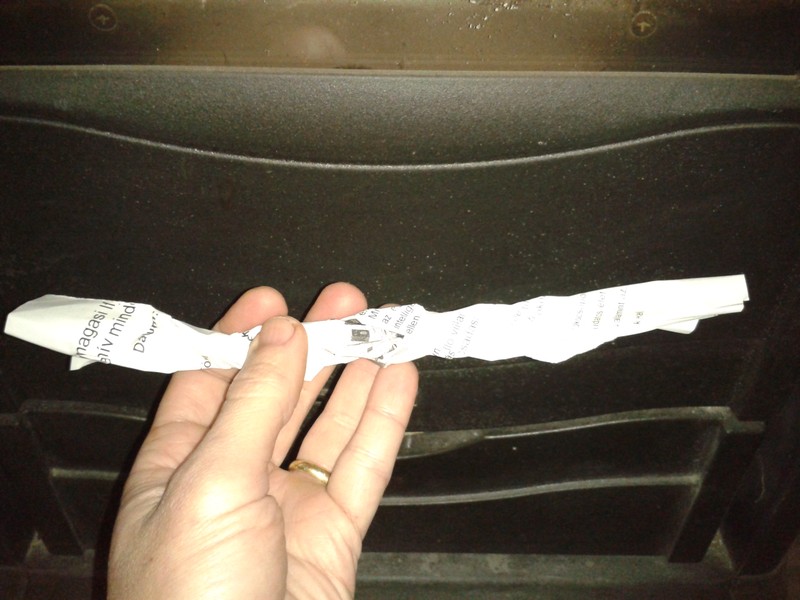
Twist paper into strips.
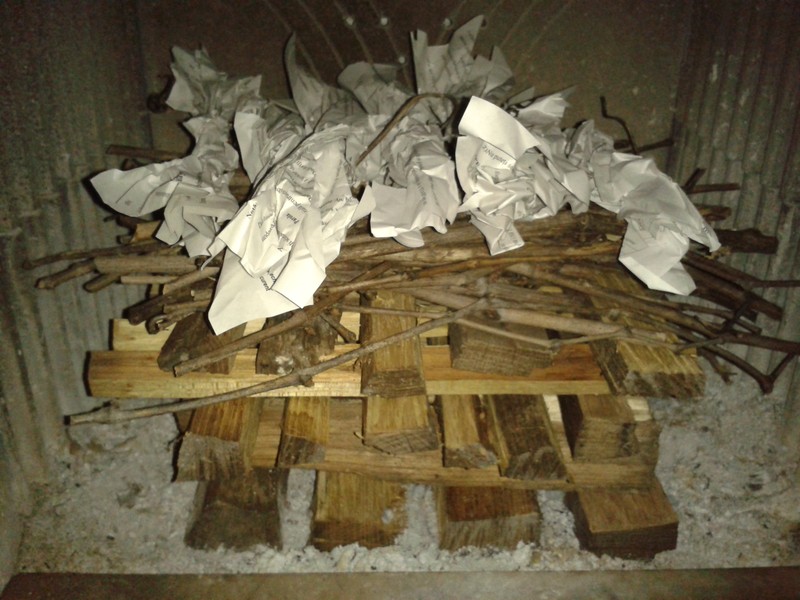
Place paper strips above twigs.
Add a few twigs above the paper strips to help get the twig layer burning.
Step 3 – Light the Fire.
The set-up so far was a bit of work. But the next step is simple. Simply light the paper on fire and watch your creation take off. It is interesting to watch the fire burning down through each layer in succession.
The most important aspect in this step is to just let the fire burn. You should not have to do anything after lighting the paper. But in the event the wood fails to start simply add more paper and start again.

Light the paper.
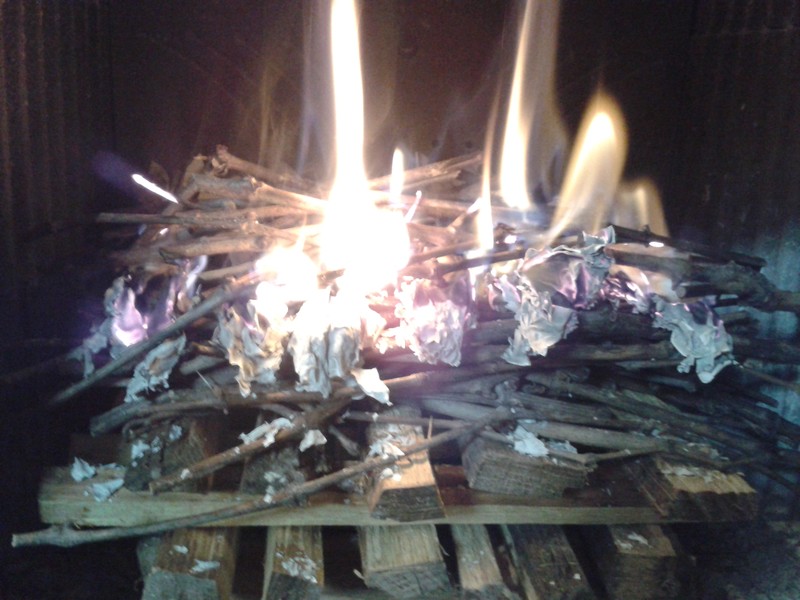
Twigs start on fire.
Twigs fully in combustion.
Twigs burnt and the thin wood strips are now starting to burning
Thin wood strips fully burning.
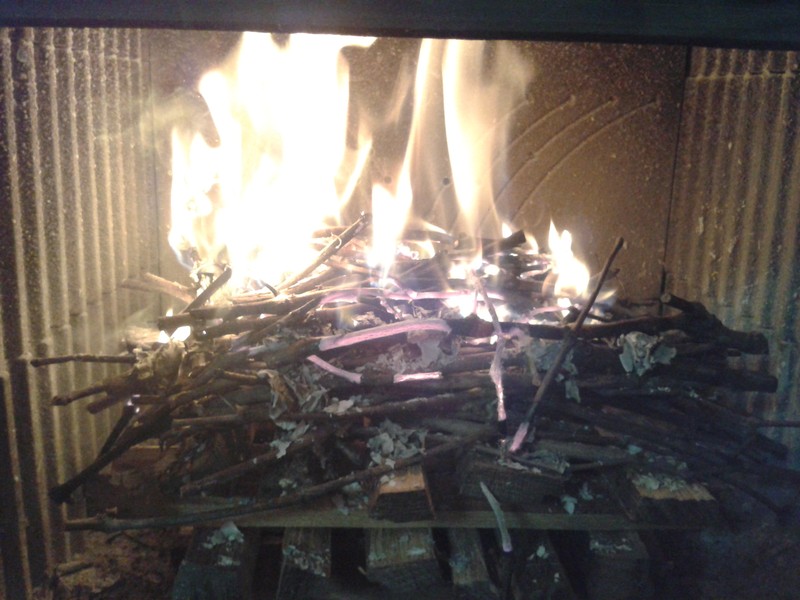
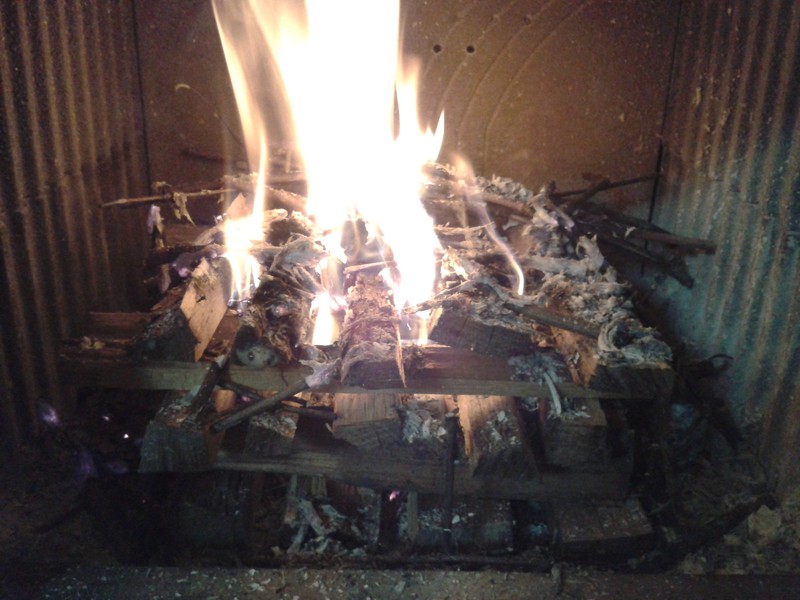
Stove wood starting on fire.
Fire continuing down the layers of wood.
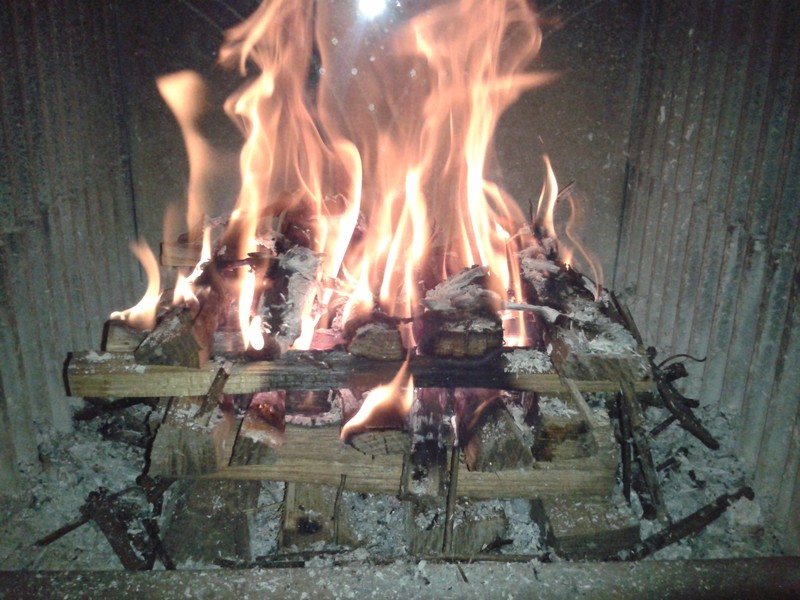
Entire wood column burning.
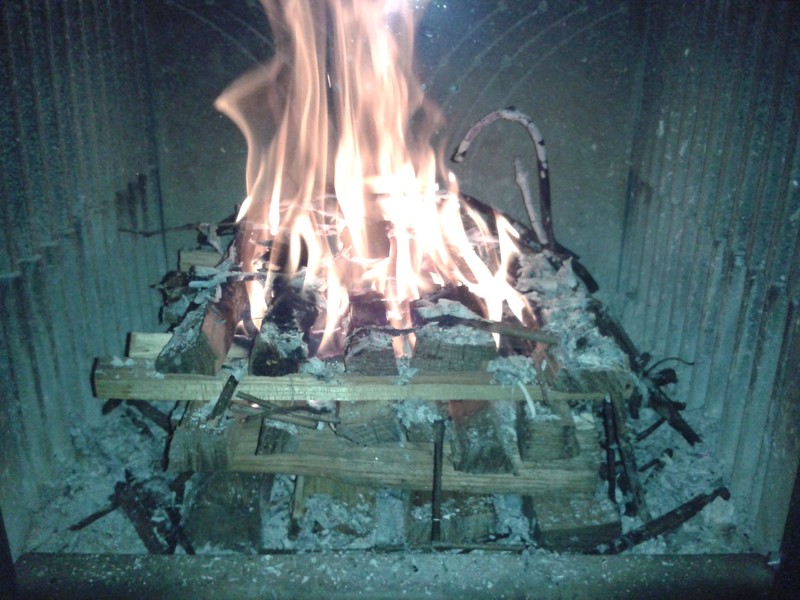
Step 4 – Loading the logs.
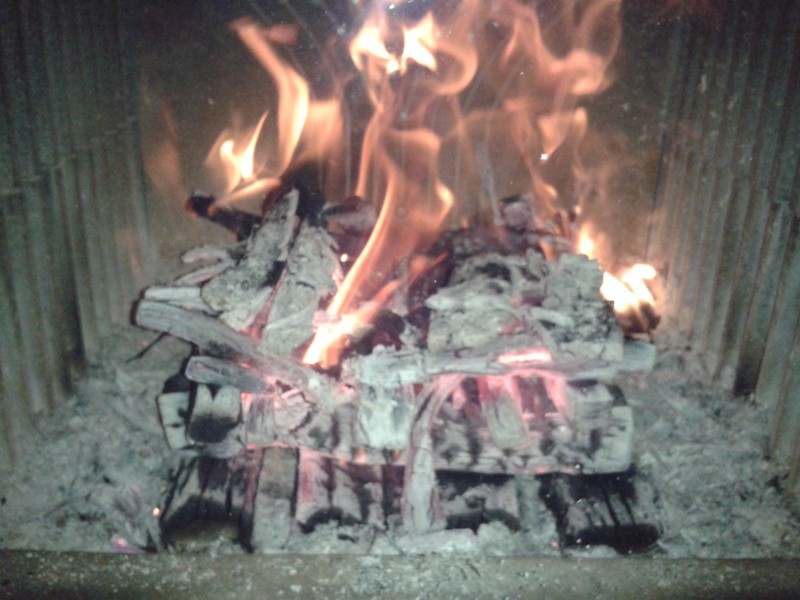
Once the fire above has created a good red hot coal layer, you can add your first load of more stove wood and logs for long term burning. Wear protective insulated gloves and lay the wood in the stove. Do not “throw” wood in, doing so may damage the interior components of the stove.
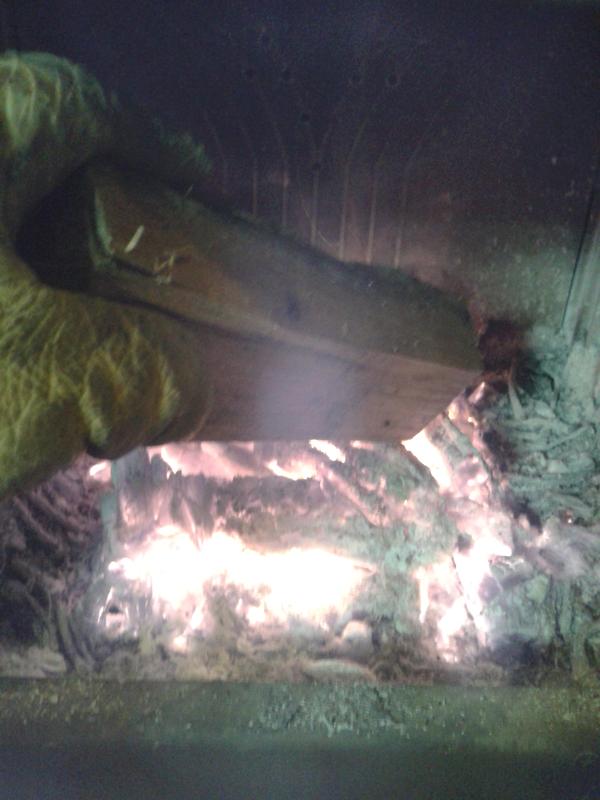
Adding wood.
That is it. Give it a try. And stay warm this winter.

Well,that about covers it all!What i’d really like to hear about is the WINE! Do you produce your own?
LikeLike
Yes, I produce wine.
But most of the vineyard land has been replanted recently (see https://stcoemgen.com/?s=two+properties for my ongoing chronicle about this), so some new varieties will not produce wine until this year (for distribution in 2016 — see https://stcoemgen.com/our-wine/).
The current mature vineyards are producing two wines:
I also, from time to time, make fruit wine:
LikeLike